10 Steps to Prepping a Native Wildflower Garden
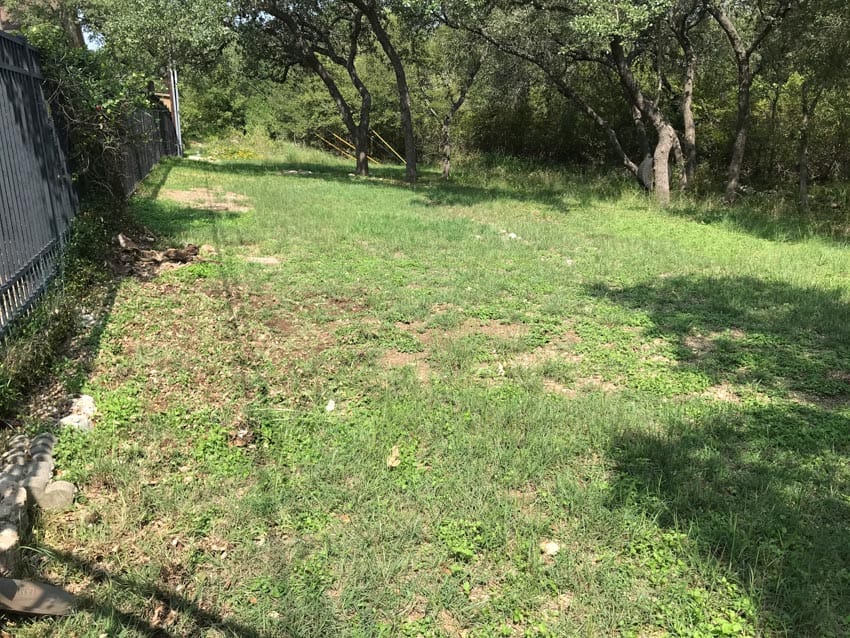
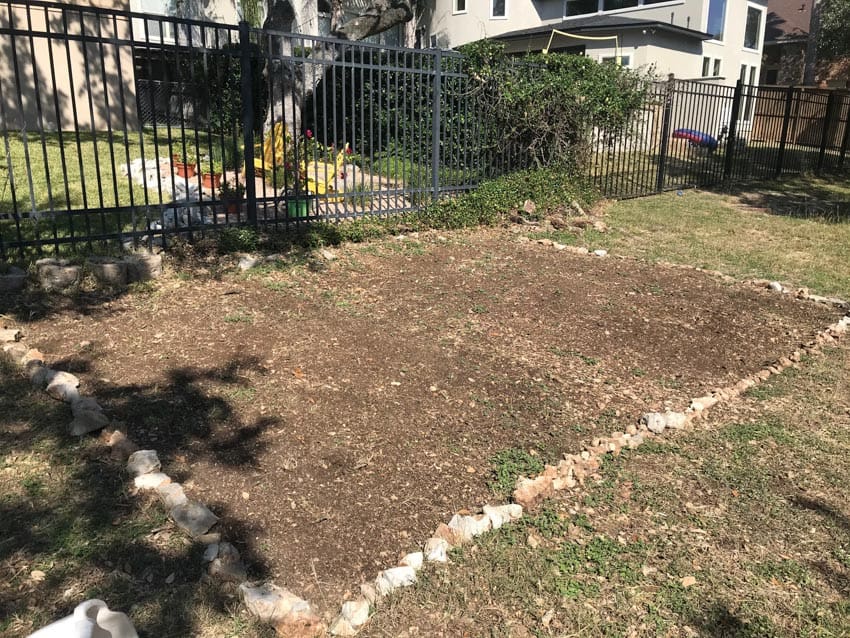
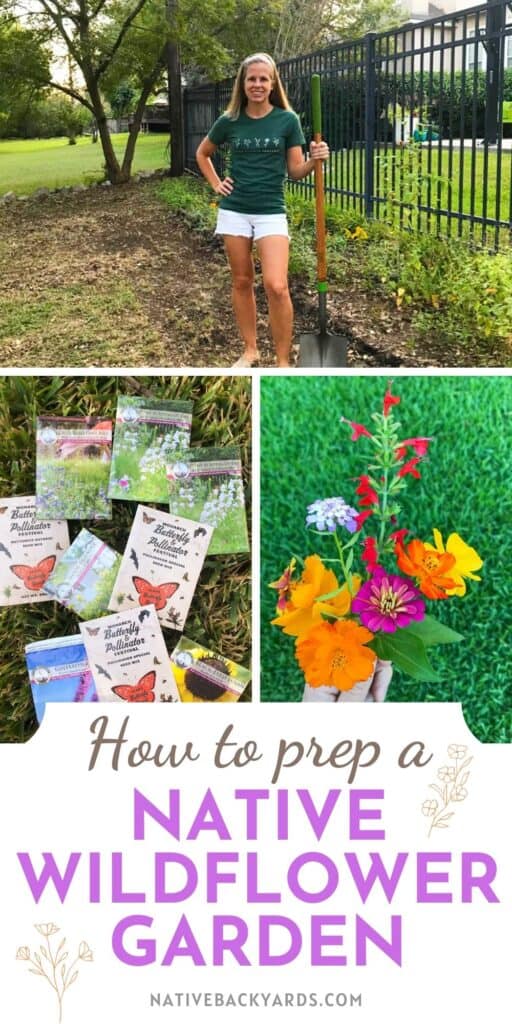
This spring I’m inviting all the pollinators to my yard with a native wildflower garden! That is the dream anyway. 😉 Right now it is just a bare patch of earth on the backside of our fence.
I have been doing all the research on how to prep a wildflower garden and back in October I put the knowledge to work. I cleared a large area that used to be covered with grass and scattered seeds. Today I’m sharing all the steps I took to prep my pollinator garden to encourage you to create one too!
This post contains affiliate links. See our full disclosure.
How to Prep a Native Wildflower Garden
1. Time it right
Plant in fall
Many of us think of spring as the time to plant a garden, but that is not necessarily the case with wildflowers. It is actually best to sow your wildflower seeds in the fall. Planting in fall is similar to how nature plants wildflower seeds. It gives seeds a “head start” over a spring planting by allowing them to germinate and develop a root system in the fall before going dormant in the winter.
Your location matters
In Northern zones, the seeds will stay dormant through the winter but germinate at the first signs of spring. Wildseed Farms provides helpful information about timing your wildflower garden based on growing zone.
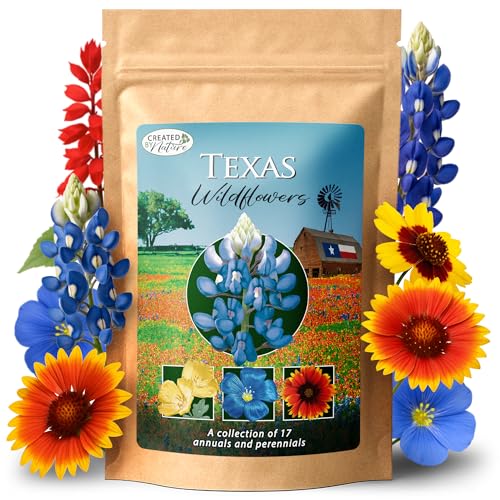
To hedge your bets, you can get a perennial native wildflower seed mix like this that you can plant in fall or spring!
2. Pick a sunny spot
From what I’ve read, the amount of sun the area gets tends to be a key determining factor in whether a wildflower garden will be successful. The more sun the better.
Eight hours of sun is ideal
Ideally 8 hours of direct sun a day. However wildflowers should still grow well with 4-6 hours of direct sun. Anything less than that and you’ll get fewer blooms and more disappointing results. This is likely going to be a challenge with the spot I chose for my bee garden.
Look for shade friendly seed mixes
While the area around the fence line receives 4-6 hours of sun, the extended part of the bed is shaded by an oak tree during much of the day. To help combat that I incorporated a shade friendly native wildflower seed mix. It includes species that still perform well with less sun.
3. Use whatever space you have
I started small with my wildflower garden two years ago, by clearing a three foot wide bed along the backside of our fence. Since I had success with that bed, I decided to increase the size of the garden four-fold for 2021! I recommend starting small. Pick an existing garden bed or clear a small patch of grass in an area that gets a lot of direct sun. You can even use a raised garden bed.
4. Clear the ground
After sunlight, soil prep is the second most important step to ensure success of your native wildflower garden. Even though wildflowers can grow in poor, rocky soil, they don’t like to have to compete with a bunch of grass and weeds. Starting with a bare patch of soil can ensure the wildflowers have room to germinate and grow.
Small area: use a shovel and rake
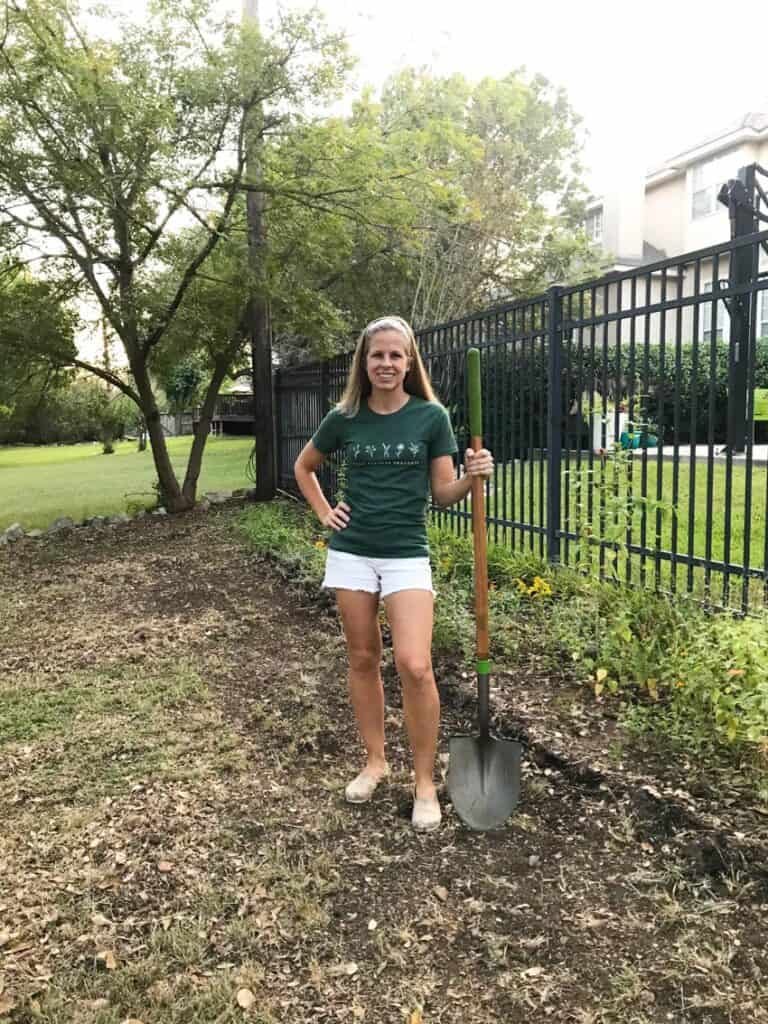
Starting small will make this step easier. To clear my wildflower bed I used a shovel and a lot of arm strength to move a layer of bermuda grass. My favorite shovel for breaking up hard ground and cutting through roots is definitely the Root Slayer. It is a workhorse!
Thankfully the grass and ground were really dried out from the hot summer so the shovel got underneath them pretty easily. We have really rocky soil so I kept unearthing rocks several inches wide as I went along. Once I got the grass and its roots pulled up to the degree possible, I raked the soil to smooth it out.
Large area: use solarizing or rototiller
I’ve also seen people cover an area of grass with plastic sheeting for several weeks/months to kill the grass and make it easier to remove. You can also use a rototiller to remove grass from a large area. Other than clearing the area to uncover bare soil, there is nothing else you have to do to enhance it. Wildflowers don’t need composting or fertilization.
5. Make a border
If you don’t want your wildflower garden to look too “wild” it helps to delineate where it starts and ends with a border. My border came about organically – as I cleared the soil my shovel ran into a ton of rocks. Every rock used for our border came out of the ground. Pretty crazy, right?
If you don’t have a ton of rocks on hand like me you can use a border like this garden fence edging. This is what I used for my original wildflower garden. Of course, in subsequent seasons your wildflowers may decide they want to spread beyond the border! They are “wild” afterall! We mow the grass around the bed, so creating a border makes it easy to know where to mow and where not to.
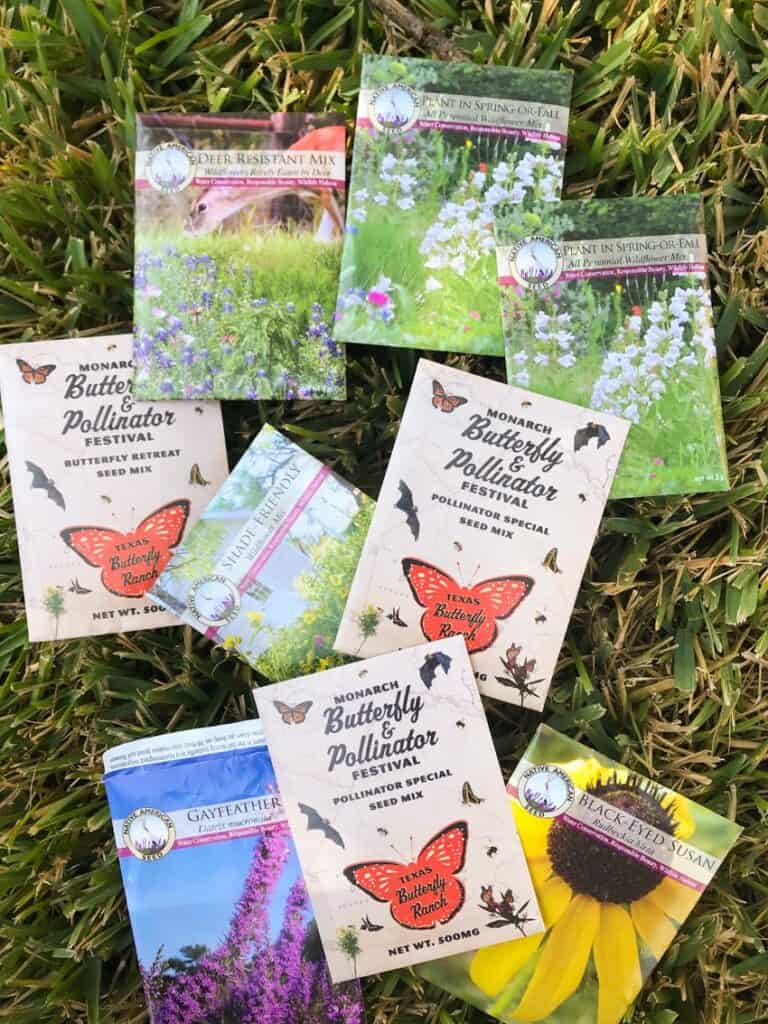
6. Pick native seeds
Native wildflower seeds are your best bet for a successful garden. They are adapted to growing in your local ecosystem with no human intervention needed. They are also the best source of food for plant eating insects and serve as host plants for butterflies and moths.
My favorite online source for native wildflower seeds for Texas is Native American Seed. Check out these Top Online Sources for Native Wildflower Seeds.
7. Scatter seeds evenly
Wildflower seeds are notoriously small. They are so light that your packet of seeds may feel empty! To help ensure that you don’t accidentally dump all your tiny wildflower seeds in one place, I’ve seen many sites recommend mixing the seed with a little sand. A hand-held seed spreader works particularly well to evenly distribute the sand and seed mixture.
8. Stamp down seeds lightly
One of the quickest ways to prevent a wildflower seed from germinating is to bury it too far into the ground so it can’t see the light of day! Rather than covering the newly sown seeds with soil, just walk back and forth over the area to press them down with your shoes.
9. Water to keep moist
Give your wildflower garden a good sprinkling of water to further help bind the seeds to the soil. Ideally, you want to keep the area moist until the seeds germinate and are a couple inches tall. You may want to hand water daily if you aren’t getting rainfall in your area.
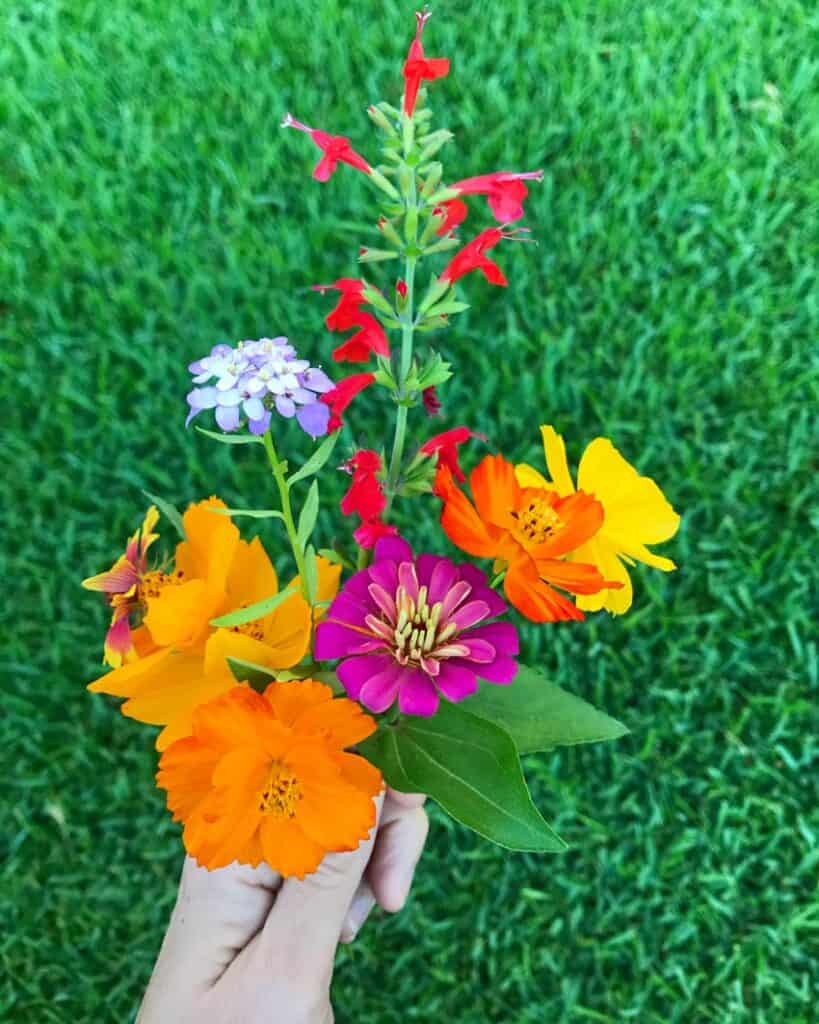
10. Stay patient
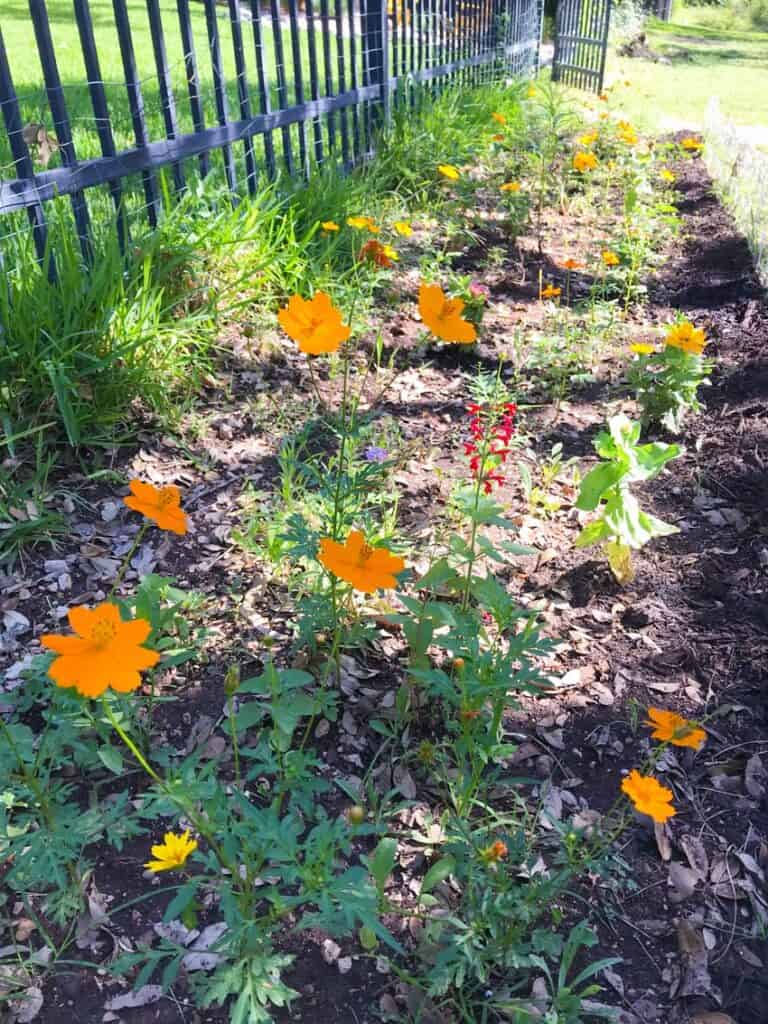
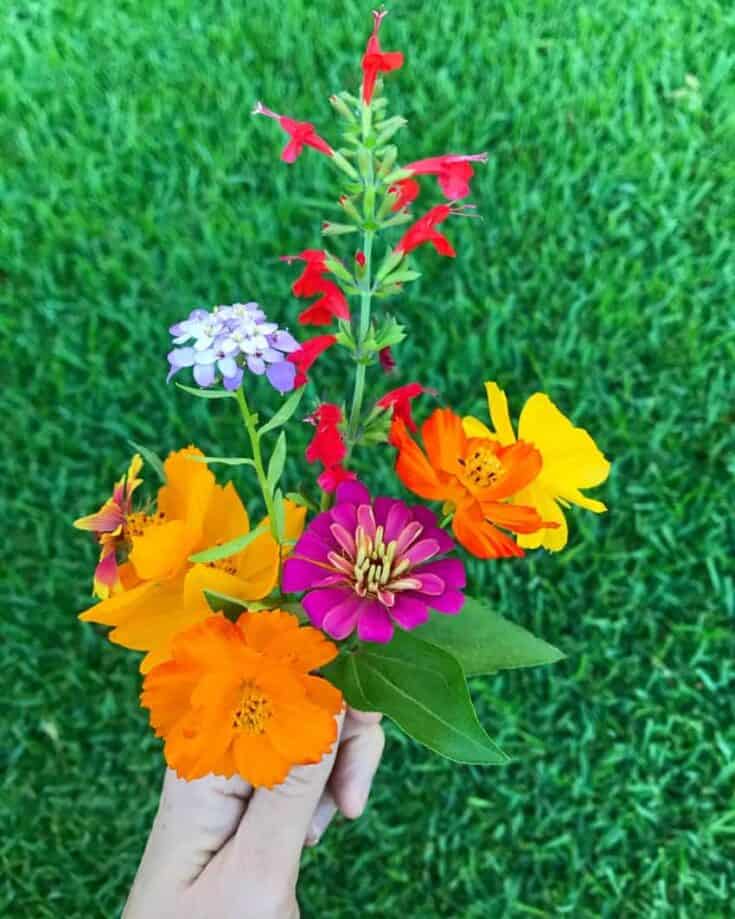
I’m anxiously awaiting the germination of more flowers and I will keep you posted. Here is an example of some of the beautiful flowers that came from my wildflower garden last summer!
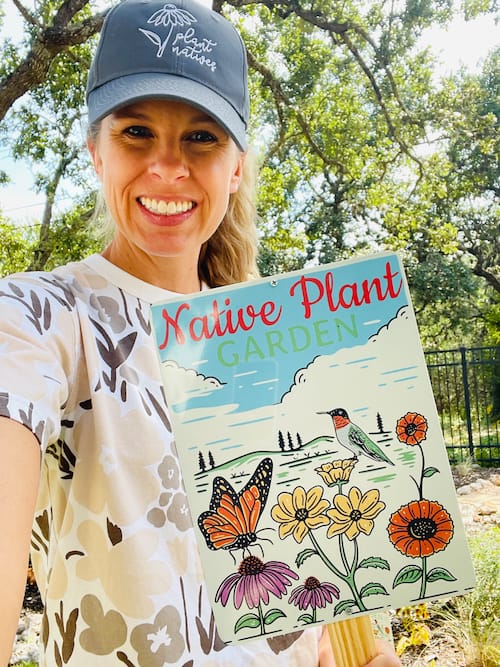
Bonus: Make your native wildflower garden official!
Why not reward yourself for your hard work by ordering a Native Plant Garden sign or a Pollinator Garden sign to display near your soon-to-be native wildflower garden swarming with pollinators? Not only does it make your garden look very official, it can inspire your neighbors to add native pollinator plants to their yards too!
PRINTABLE: How to Plant a Wildflower Garden
Turn a sunny patch of grass into a wildflower garden that can do so much more to help the environment and our pollinators than turf grass!
Materials
Instructions
- Time it right (fall is often the best time to plant wildflower seeds, but there are some varieties you can plant in the spring!)
- Pick a sunny spot (8 hours of direct sun is ideal)
- Use whatever space you have (start small - perhaps along a fence)
- Clear the ground (clear any grass with a shovel or rototiller)
- Make a border (a border helps it look like your garden was planned!)
- Pick native seeds (wildflowers that are native to your area will not only perform best, they are the best option for your local ecosystem)
- Scatter seeds evenly (mixing seeds with sand and using a seed dispersal tool helps ensure even distribution)
- Stamp down seeds lightly (you want good soil contact but not to bury your seeds. Walking over them to press them down is all you need!)
- Water to keep moist (keep soil moist until germination)
- Stay patient (good things are to come in the spring!)
Recommended Products
As an Amazon Associate and member of other affiliate programs, I earn from qualifying purchases.


Welcome to Native Backyards! I’m Haeley from San Antonio, Texas, and I want to help you grow more native plants.
I have seen firsthand how the right plants can bring your yard to life with butterflies, bees, and birds. I’ve transformed my yard with Texas natives and I’m excited to share what I’ve learned with you.
Join my newsletter here! – each week I’ll send you helpful tips to make your native plant garden a reality!
Want to learn more about me and my garden? Check out my About page!
Terrific article, extremely helpful. I’ve had a wildflower garden for 3 full years. This final year was not as successful as the first two years which were a huge success. We’re in NE Ohio and had some extended periods of drought so we did some watering. Things got bushy and spindly so this week I finally mowed it over.
I’m going to buy the recommended seed and give it one more try for next year. I don’t know if I should add some top soil to the present area or just drop the seed.
Best Wishes.